
I saw a ticket from someone which chose to switch to shared hosting because didn't know how to use the VPS...
Well, I say you don't have to be a Linux Guru to use a VPS for hosting !
We plan to add new templates at popular demand, for example you will have Wordpress VPS, PHPBB VPS (this board is running on PHPBB), but hostinabox has all these templates built-in.
I will show you how to use it on an 128 MB VZ0 VM. (Remember this is only for personal low traffic sites ! If you have more than 2-3 visitors in the same time, memory will run low and performance will suffer ! If you want to host many sites, you can do that and give everyone an account in the Kloxo panel, but this plan will not survive it, doesn't have the memory and even space for it.)
More about Kloxo here: http://lxcenter.org/software/kloxo
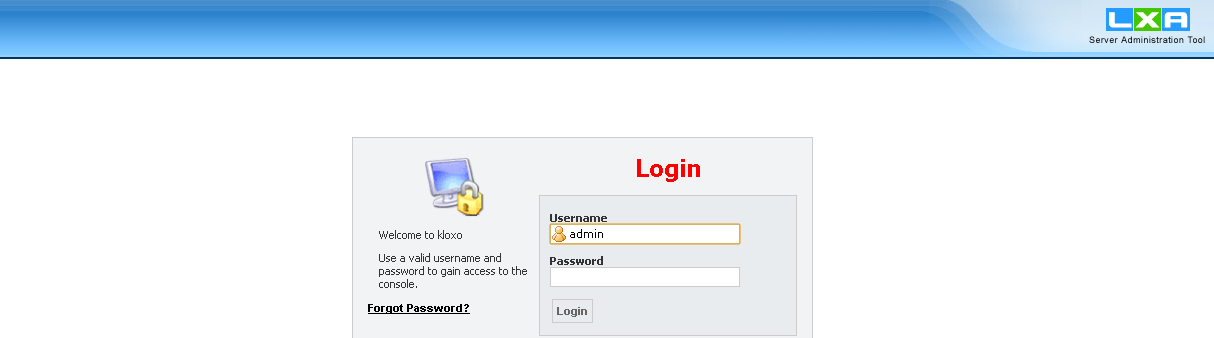
So, here is your panel with the brand new VZ0 plan:
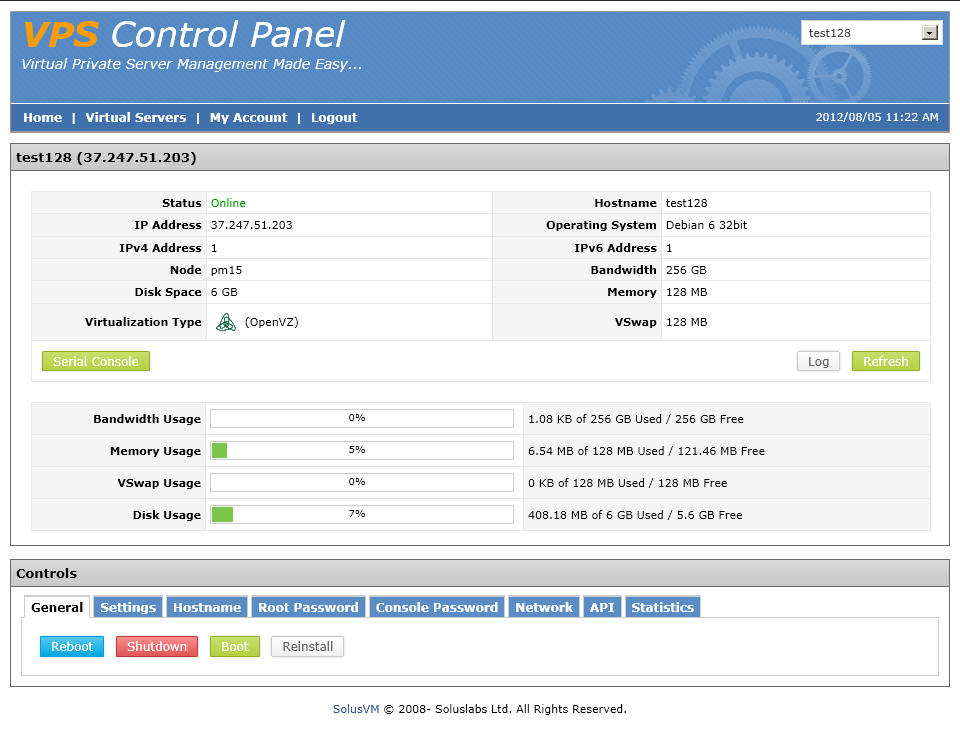
Notice it does not have the hostinabox image loaded, but a plain debian 32 bit.
We will solve this by reinstalling: Click the reinstall button at the bottom of the page and select the hostinabox template:
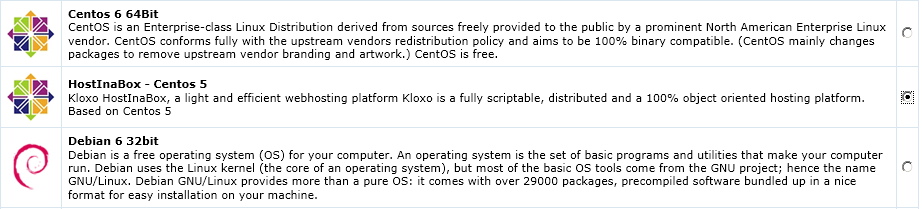
Click reinstall at the bottom of the page and answer yes at the confirmation box.
Take a 1 minute break and your template should already be installed ! Now you have your own ISP in a very small VPS !
Before using it, there are more steps to be taken and you should remember some of them them because, like in the case of windows, our VPS must be kept up to date, otherwise it will be taken over by hackers and we don't want that.
So, lets login in our vps using a ssh client called putty (download here: http://the.earth.li/~sgtatham/putty/lat ... /putty.exe)
We need for this the IP of the server (look in the first image with solusvm control panel, you will see it there) and the root password (should be in the mail you got when you bought the vps, but if it does not work, you can easily change it in solusvm control panel):
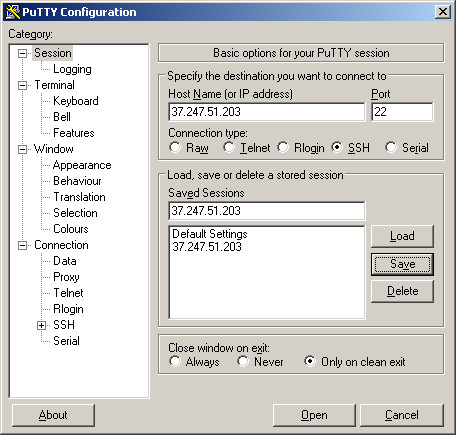
Put there the IP of the server in both fields, then click save to have it for further sessions. Now click open, you will be presented with a security warning, click yes and proceed to insert your username (root), click enter, then your password (you won't see it as you type so make sure you type right).
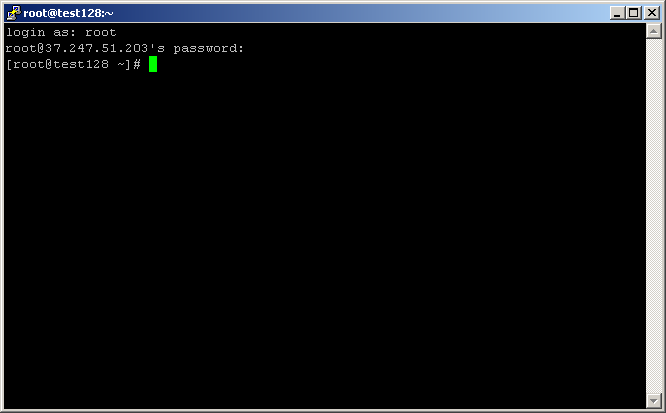
Now we must run the following commands: yum update [enter] then y [enter]
Your box will update the software to the last version. We do not need samba (interconnect with windows) as it is a security risk on the internet: yum remove samba* [enter] then confirm with y [enter]
This will remove all packages that start with samba.
You will need to run yum update regularly to keep your installation up to date, at least once a month.
Now we are done with the command line and putty, we will login now to our hosting platform !
The address is this (for now, I will show later how to setup a domain):http://yourip:7778
For now, the password is admin, same as the username, make it absolutely sure you will change it as soon as you login ! Failure to do so will result in your VPS being stolen and used in illegal activities !
After you change the password as prompted, then you will have to enable lxguard to block attempts to guess your password. Defaults are ok, check the I understand what lxguard does and update.
One last thing to do before we can start using our hosting machine, is to update kloxo panel. For this, we go to Administration -> update home and we click update. We will refresh the page until the update is done. We may need to update many times as it is updating a few steps at a time not to break things. Will show you which is the latest version and what is the version currently installed.
If you are updating too fast, there is a chance the previous update didn't finish and starting another one on top of it will break things. If you get error 500 Internal Server Error, go back to putty and run these commands:
Code: Select all
yum updateCode: Select all
sh /script/upcpCode: Select all
sh /script/cleanupCode: Select all
rebootAfter the update is finished, congratulations, you now have your own ISP in a VPS
You can add users, plans, setup automatic installations of popular apps...
You must remember that the VZ0 resources are very limited. You must live in a small space and your friends/sites too.
If all the sites have very low traffic, you are fine, but if there are more than a few users in the same time in all sites, you will have problems and your VPS could also be considered as abusing resources and suspended.
Remember that you can give your users and yourself ftp accounts to upload your files, the web root directory is in httpdocs.
Play with your box and learn how to add accounts, give resources, install blog software, forum software, CMS, etc
If you screw up badly, you can always reinstall, but remember to follow all steps.
I will put up shortly a tutorial on how to host a domain or subdomain for free and point it to your site.
Admin